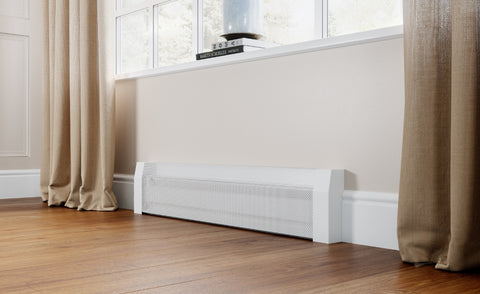
Baseboard Heater Installation

The installation of hot water baseboard heaters is pretty straight forward, except when someone decides to mess with convention. Oddly enough we hear hundreds of stories about baseboard heaters being installed "wrong" and "different than what you show on your website". This post will briefly highlight one of the more common unconventional situations; when the original back plate is mounted directly onto the wall studs, which of course prevents the vertical travel requirements for Baseboarders to slip-on.
The installation of the copper and finned tube element is never a DIY installation project. This should be left to the pro's. Once the plumbing is in place, the aesthetic renovation of a typically ugly baseboard heater becomes the domain of just about anyone (even a four year old). Baseboarders feature a 3/4" lip on the back side that anchors the entire Baseboarders system in place by sliding into the tight gap between the front face of the drywall and the original steel back plate.
Now refer to the drawing above. This profile view shows a baseboard heater that has been mounted directly on to the wall studs. All of the support brackets, damper and other bits have been removed from the drawing for simplicity purposes. This installation makes the heaters appear to have a more shallow profile along the room perimeter (technically taking up less floor space) while the Baseboarders panel is prevented from sliding down onto the original back plate. This predicament is the same as having the original back plate mounted properly on to the front face of the drywall but with the addition of wall tiles going down to the top of the original back plate.
So in both cases there is no gap for the panel to slide down into. The solution: WB001 wall bracket mounting method. Remember that the wall brackets will always add 1-1/4" to your height measurements on the retrofitting guide. In many cases this means the taller BB003 Premium Tall is needed.
